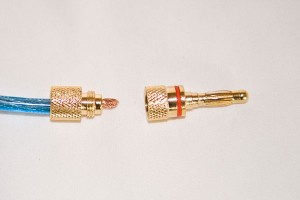
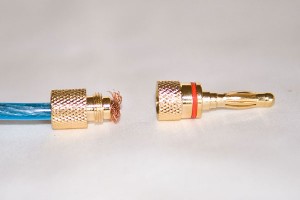
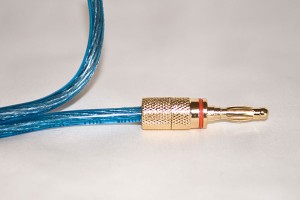
How To Select And Install Banana Plugs
We get this question almost every day:
“How do I select from your enormous range of banana plugs?”
This is usually followed a few days later by:
“OK, I’ve bought them…so how do I install them?”
We’ve put together this simple guide on how to select and use our range of banana plugs, from the budget plugs to the top end reference series.
Selecting Your Banana Plug
Generally there are 4 main considerations for selecting the right one for you.
1) Cable thickness
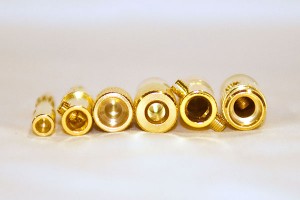
The best banana plug for your cable isn’t necessarily the biggest or the most expensive. The most important thing to ensure is that your cable’s thickness is suited to the plug. Generally, the better the fit for the cable, the more surface area it will have to contact the banana plug and hence the best connection. A good fit will also ensure that the end is neat and will hang nicely from the back of your speakers.
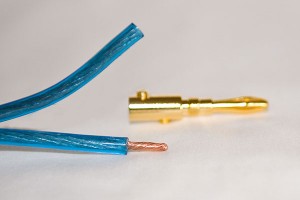
Get your cable and check the diameter of the conductor. The best fit is if it’s slightly smaller than the diameter of the plug.
2) Decide on the installation angle
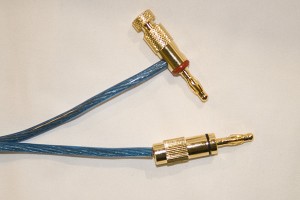
Some banana plugs are side entry. Most are terminated from the back. You may need to check how it will fit onto your speakers to decide which way is best. For example, some speakers have their binding posts angled upwards, in which case a side entry banana plug like our Duallock banana plug is best (it allows the cables to hang straight down).
3) Termination method
Many banana plugs are screw terminated, usually by using one or two small screws. Screw termination is a good method of locking the cable down. A faster way of doing it is by using plugs which use a “fray” termination. This is done by inserting the cable, fraying the end and reconnecting the cable. This method of termination is much faster and easier, but may not be as secure as the screw termination. It is also not suited for larger (thicker than 12AWG) cables.
You can also choose to solder the banana plugs directly onto your cable, using a very high power soldering iron. You can simply use any banana plug and remove the screw to do this. Some soldering experience is generally recommended as banana plugs are notoriously difficult to solder correctly.
4) Budget
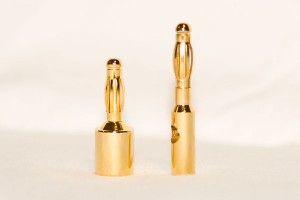
Difficult to see in a photo, but the tip on the left has a much better finish, improved coating and as a result, better contact.
While most banana plugs will achieve similar performance, reference quality banana plugs are made with better machining, thicker gold plating and higher quality polishing. While these quality factors do not affect the connection as much as say, speaker cables, if you are to be making higher end cables it may be worth considering using reference grade terminations.
That’s it!
If you need further help, feel free to contact us.
Installing your banana plug
OK. So you’ve received your plugs. Where to go from here? There are three basic types of installations.
Screw installation plugs
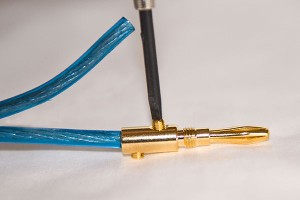
Most banana plugs like the Screwlock banana plug, Reference Intex and Reference Basix banana plugs use a screw mechanism to lock the cable down. All you need is a small flat head screwdriver (a large jeweller’s screwdriver works well).
Measure out roughly how much of the conductor is required by putting the cable next to the plug. Strip the cable back by the amount required.
Twist the cable so that the braids are tight and bunched together.
Insert into the banana plug and screw down tightly.
Bolt/piston installation plugs – rear termination
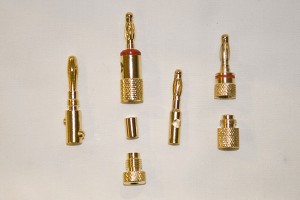
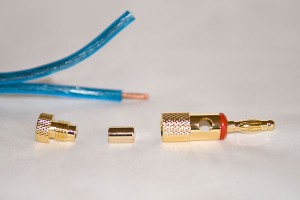
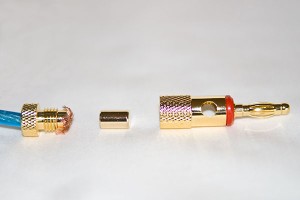
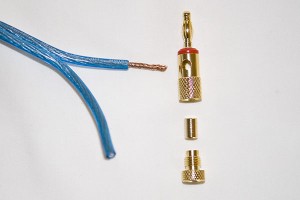
Duallock banana plugs are a popular choice for many reasons. They suit a wide range of cable sizes, they allow side or back cable entry, and they’re super easy to install.
As above, prepare the cable and plug by measuring out the required amount of exposed conductor and stripping back the insulation.
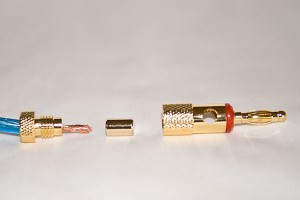
Insert the stripped cable through the bolt at the back of the plug
Fray conductor end so that the cable will grip and will not slip out. For thicker cables, you can also simply bend the whole conductor over itself.
Put the plug back together, including the piston which will help secure the cable in place. Screw down as tightly as possible to ensure good contact.
Bolt/piston installation plugs – side termination
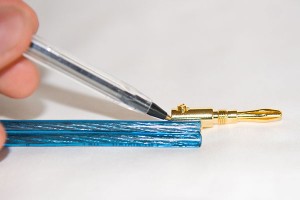
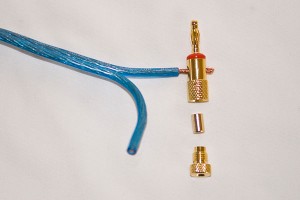
The dual locking banana plugs can also accommodate side entry, especially for larger cable thicknesses. Again, prepare the cable for installation by stripping back adequate insulation.
Put the cable through the entry point in the plug.
Re-insert the piston and rear bolt, and tighten. You may wish to trim off any excess cable after the termination is complete.
Bolt only plugs
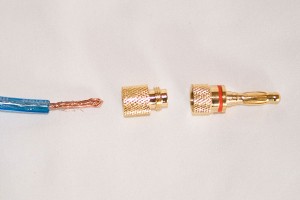
Bolt only plugs, like the Twistlock banana plug, allow for very easy and fast termination with just a tool to strip the cable. They’re also quite short.
Again, start by stripping back the cable to expose an adequate amount of conductor material. You may wish to expose more than you require as you can just trim off excess in the next step.
Insert cable through the bolt at the back of the plug.
If necessary, trim any excess conductor material. Then fray the conductor in all directions.
Re-attach the tip and clamp the plug down hard to ensure a tight fit.
Finished! Easy!
If you have any further questions, please do not hesitate to contact the Chrome Audio team for assistance.
